
Full 25-point door and opener safety check with every visit - springs, cables, rollers, tracks, and your LiftMaster or Chamberlain opener included
You get a price before we start. It does not change when the truck arrives.
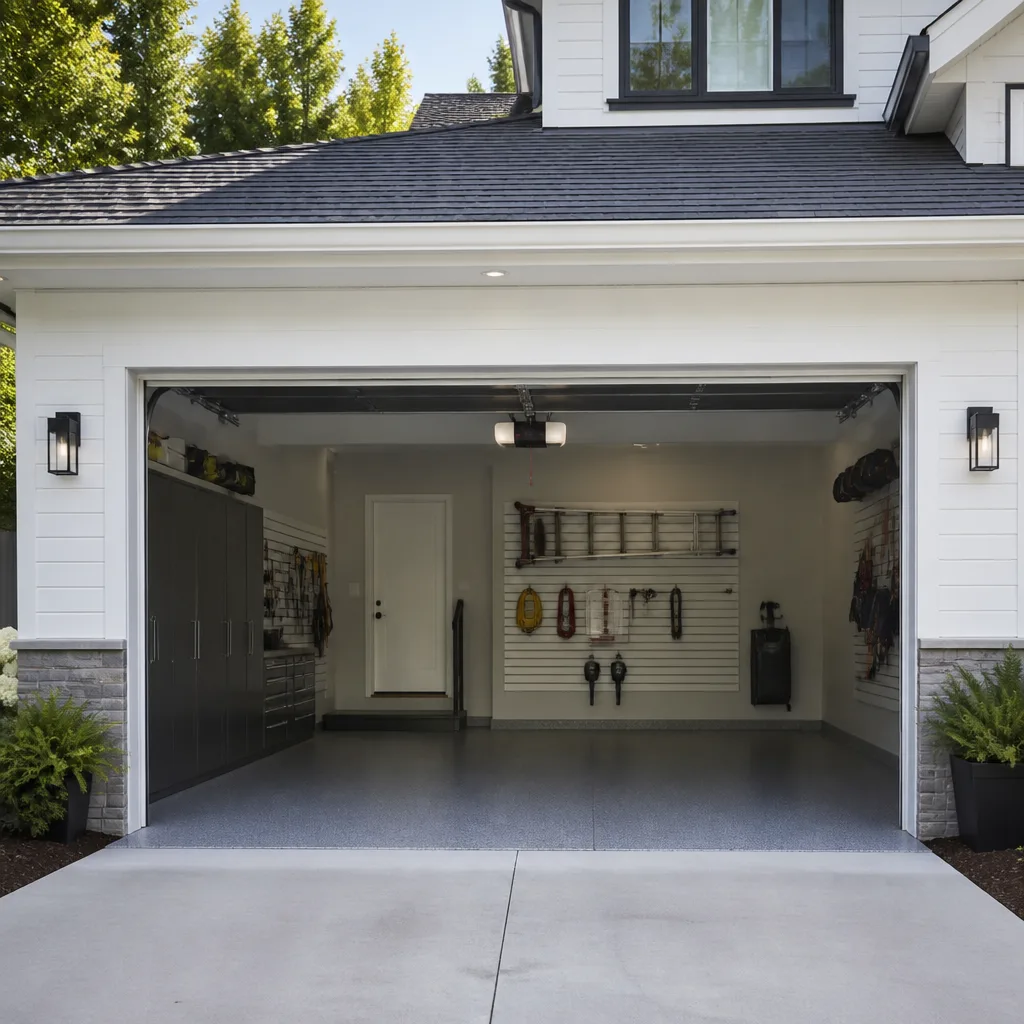
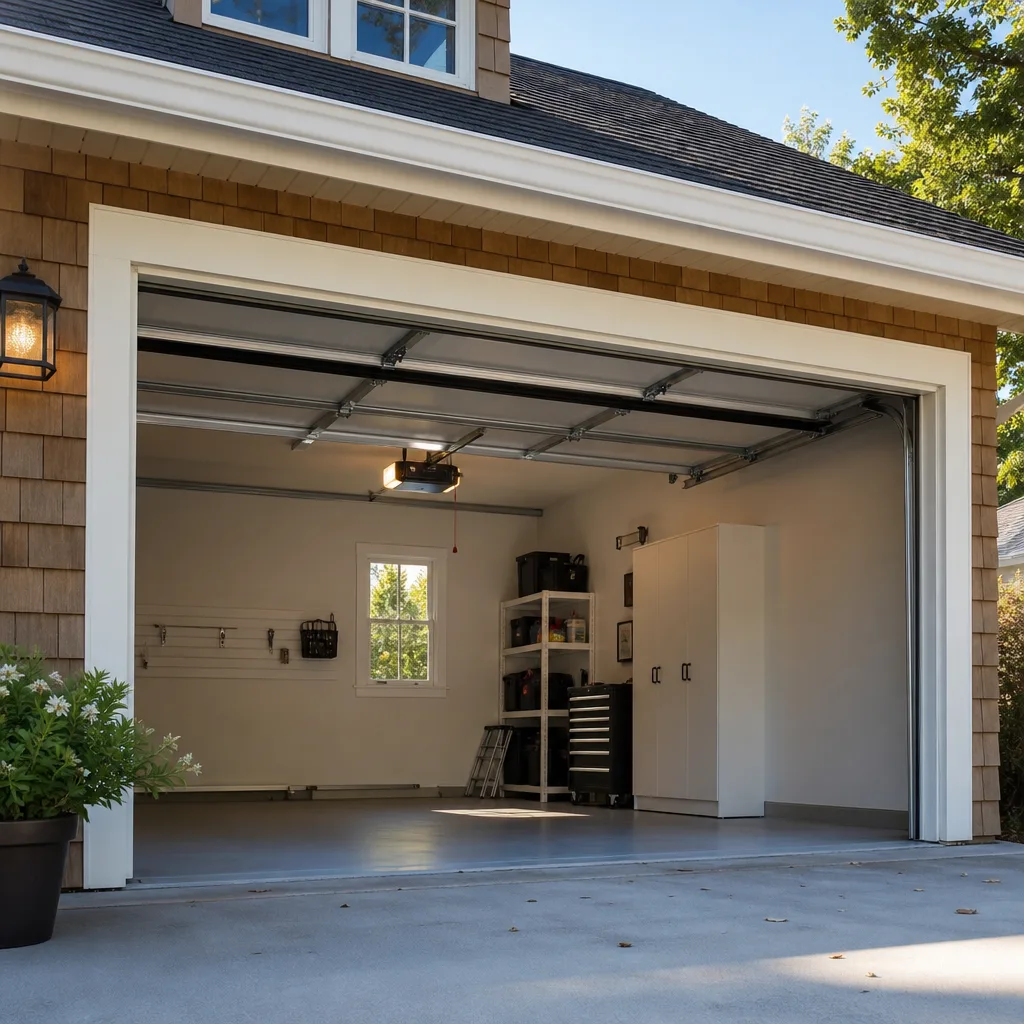
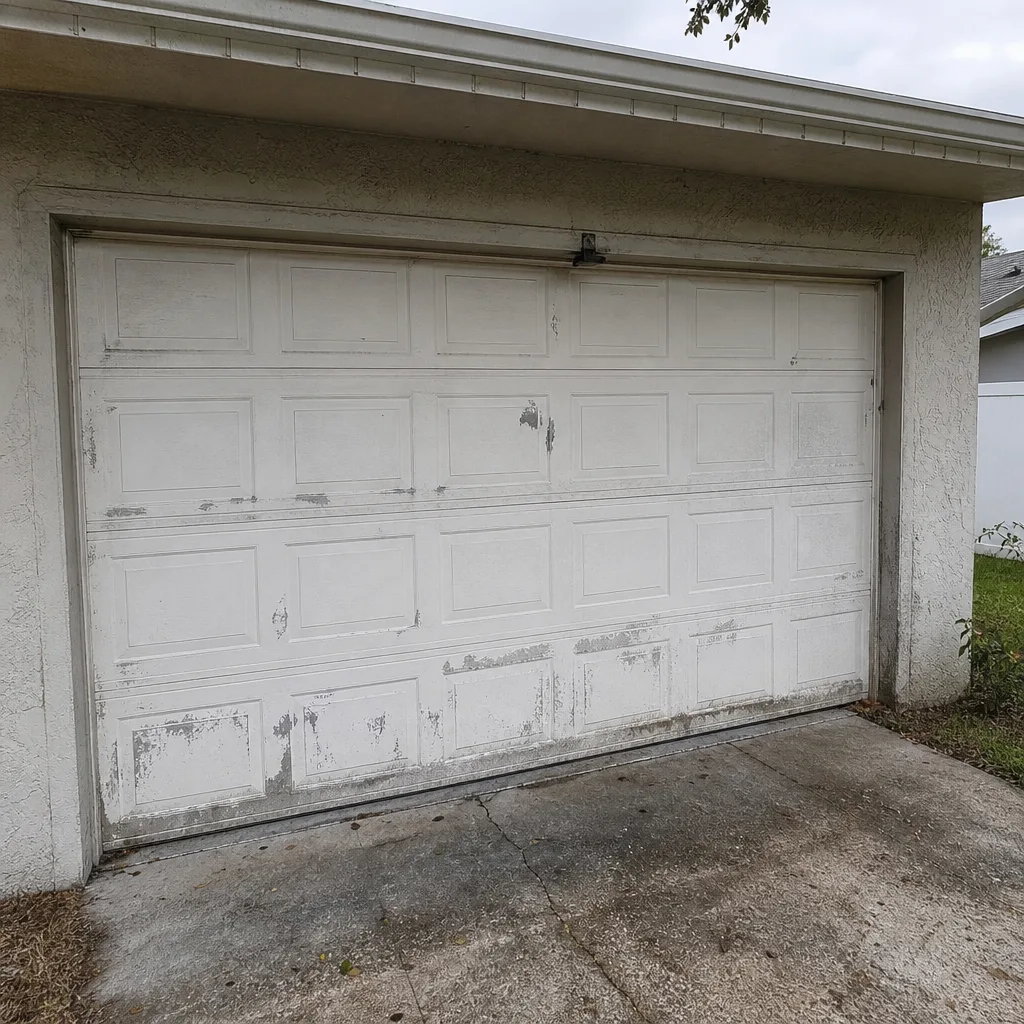 Before
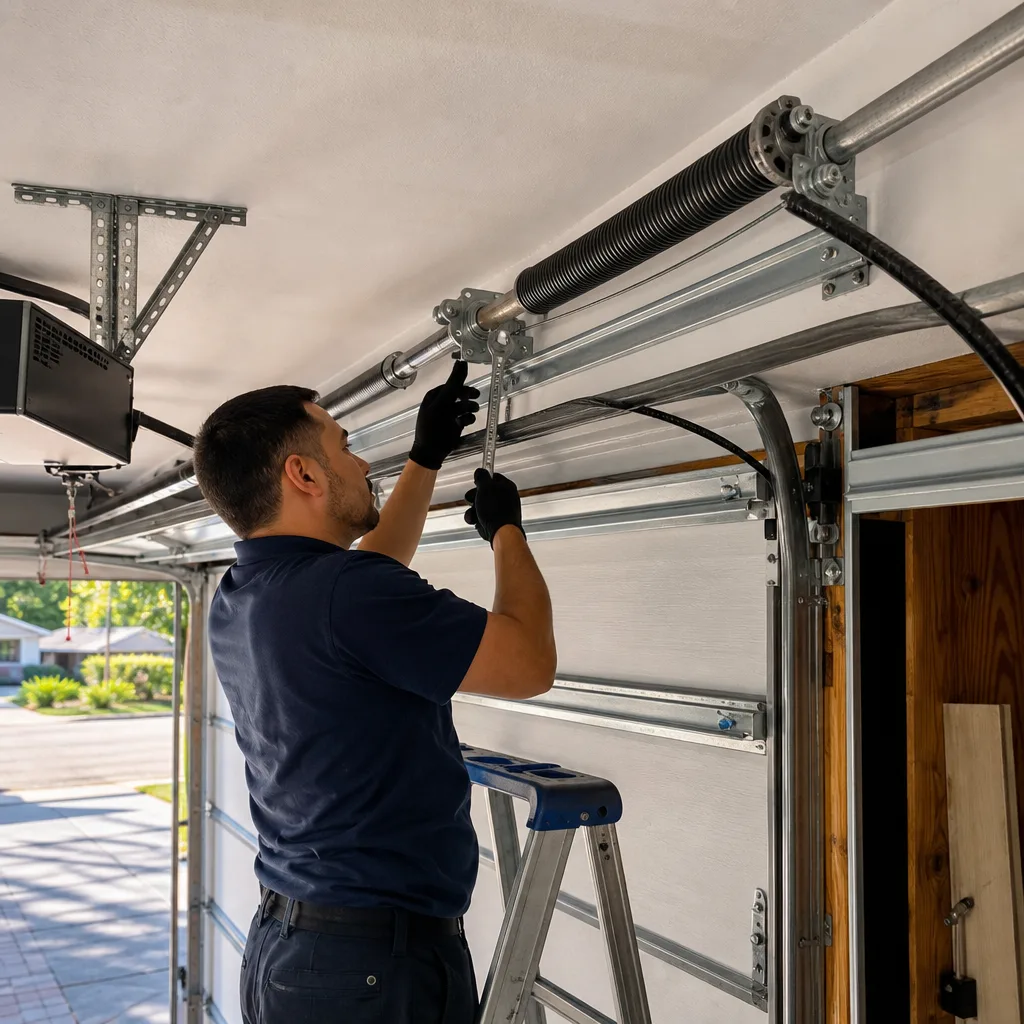 After
After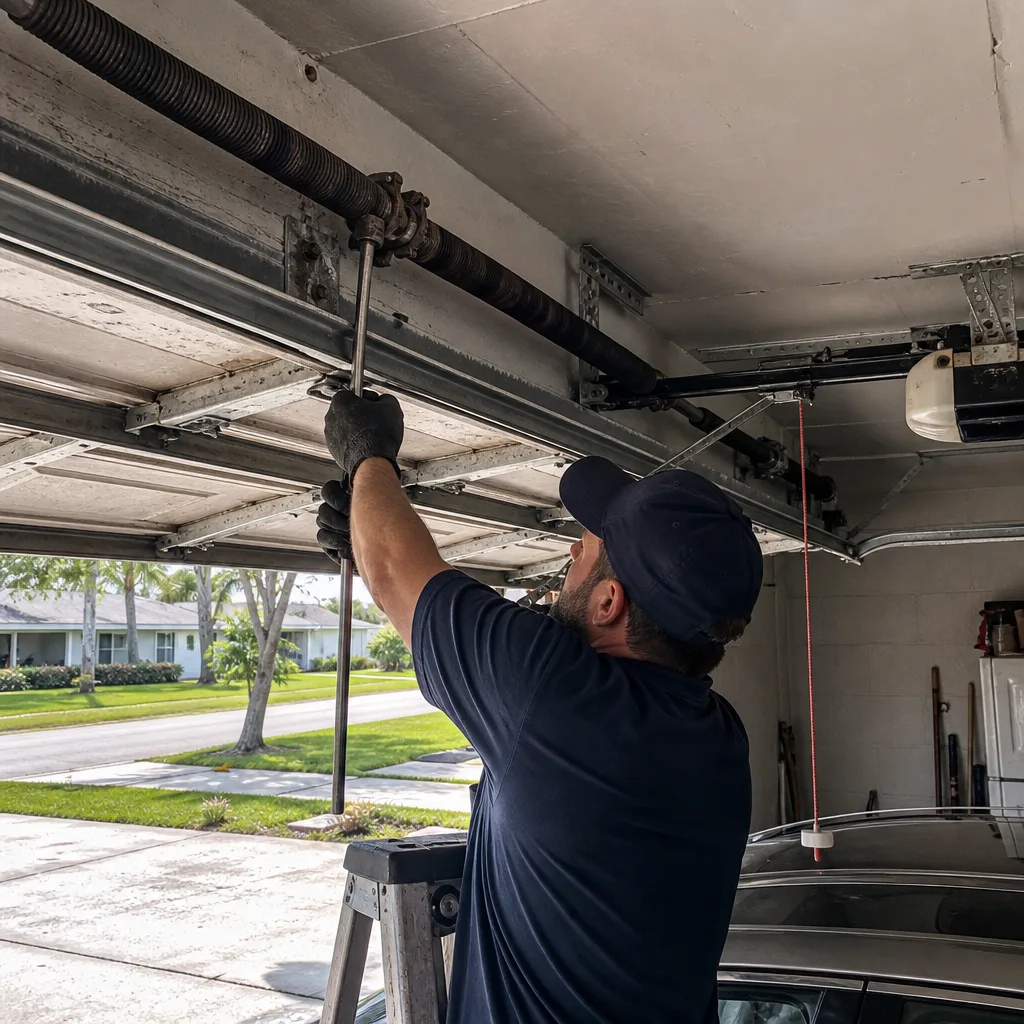 Before
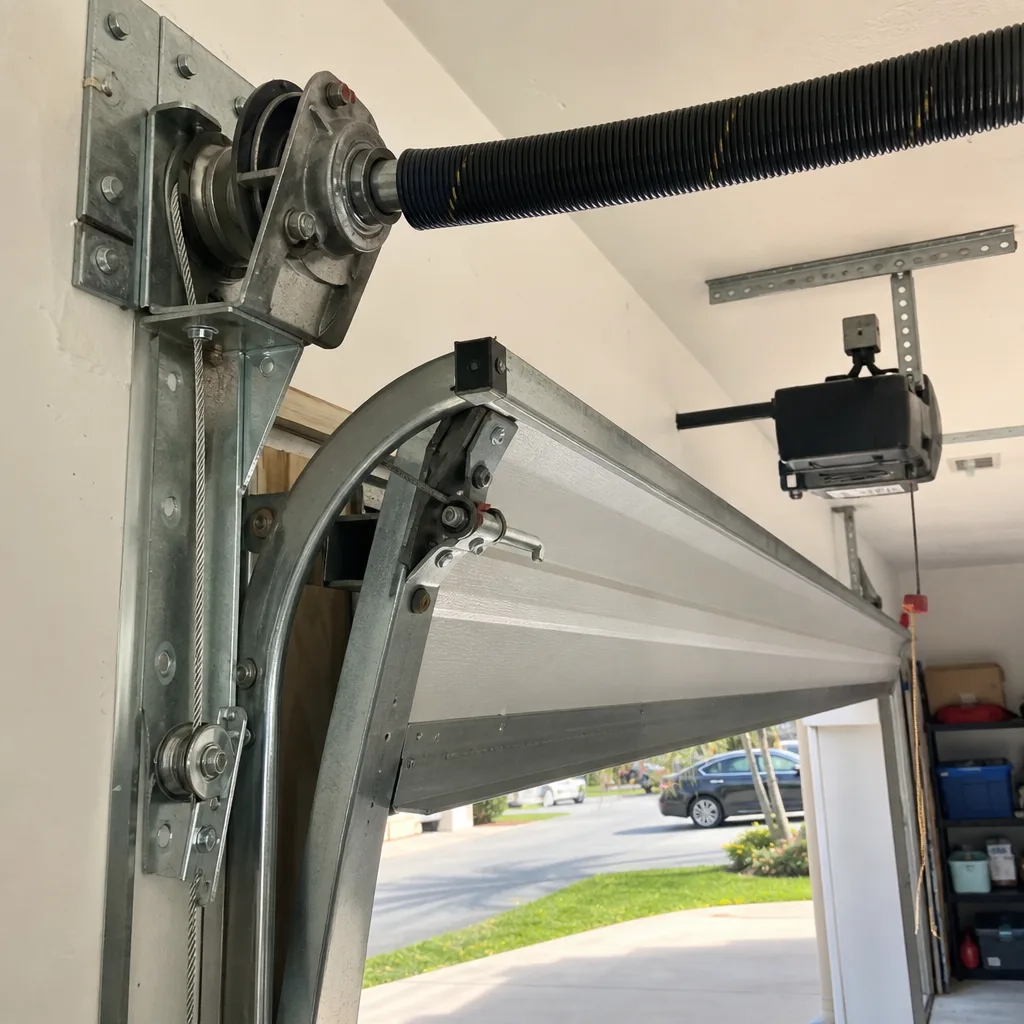 After
After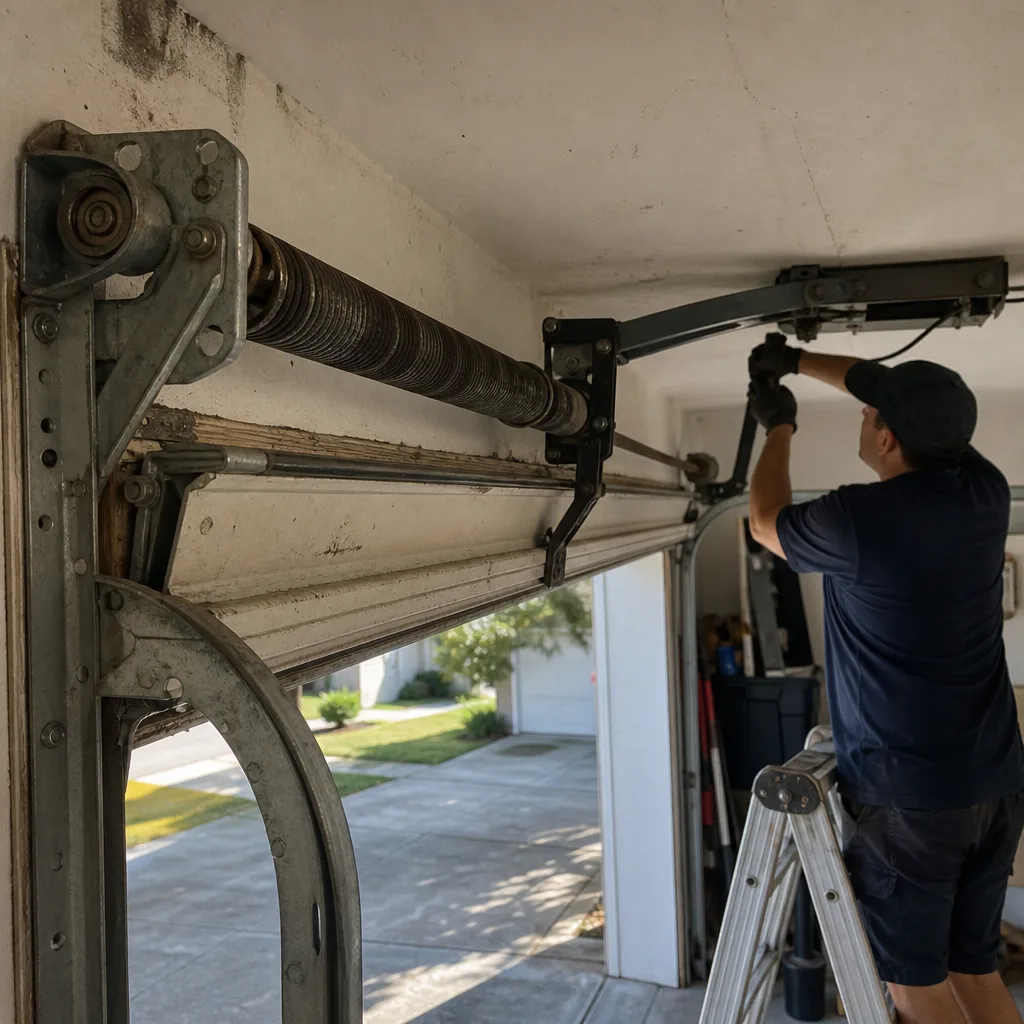 Before
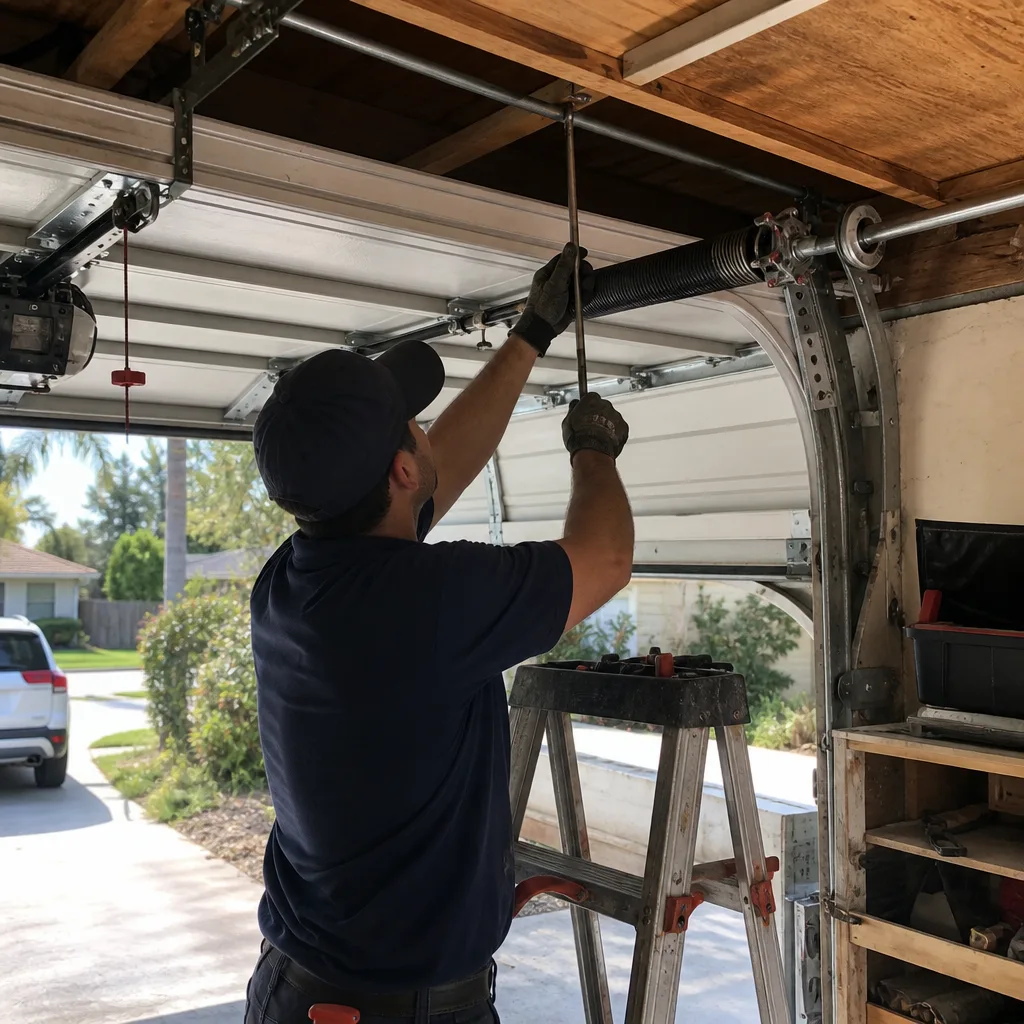 After
AfterLiftMaster Garage Door Installation in Clearwater: What to Know First
We install LiftMaster garage door openers throughout Clearwater, from the residential streets off Gulf-to-Bay Boulevard to the neighborhoods near Coachman Park. Most LiftMaster installations take 2 to 4 hours, and you’ll have a flat written price before the first screw comes out of the box. Opener installation on a LiftMaster unit runs $250 to $550 in Clearwater, with the opener itself priced separately based on the model you choose.
This page is for homeowners who already own a LiftMaster opener, are replacing an old one, or are researching which model to put on a new door. If you’re weighing options, we can walk through the actual differences between series without the sales pitch. Call (727) 485-0719 and you’ll get a person, not a recording.
How LiftMaster Products Fail - and How We Fix Them
LiftMaster builds solid openers, but we’ve seen every failure mode the Clearwater climate can produce. Here’s what actually breaks, what causes it, and what we do about it.
- Logic board failures on Security+ 2.0 units (models 8355, 8360, 8550). The logic board is the opener’s brain: it reads the wall button, the remotes, and the safety sensors. In Clearwater’s humid summers, we regularly see boards corroded by condensation inside the plastic cover, especially on openers mounted near uninsulated garage ceilings. Symptom: the opener clicks but won’t run, or runs only from the wall button. On pre-2018 units with no remaining warranty, we’ll quote a replacement board and show you the corroded traces in the photo record before any work starts.
- Stripped drive gears on chain-drive units (models 8155, 8160, 8165). The main drive gear is a nylon gear inside the motor housing, and it’s designed to be the sacrificial part: if the door jams, the gear strips instead of destroying the motor. We hear it first as a grinding sound, then the opener stops moving the door entirely. The fix is a gear-and-sprocket kit. It’s a $120 to $320 opener repair in Clearwater, and we’ll show you the old gear with the teeth flattened off before we hand you the invoice.
- Travel limit and force-setting drift on wall-mount units (model 8500, 8500W). Wall-mount openers sit on the torsion tube at the side of the door rather than above it, and when temperature swings cause the torque settings to drift, the door starts stopping two inches short of the floor or reversing for no reason. Homeowners mistake it for a sensor problem. We reprogram the limits and force profile, then test a full open-and-close cycle twice to confirm it holds.
- Trolley carriage wear on belt-drive models (8550W, 87504, 85870). The trolley carriage is the piece that slides along the rail and connects the opener to the door arm. After years of salt air and humidity working on the metal, the carriage binds on older rails. Symptom: the door shudders halfway down, then hesitates. We’ll replace the carriage with an OEM LiftMaster part when the rail is still square, and we’ll tell you honestly when the rail should go too.
- Door-mounted sensors knocked out of alignment by kids, bikes, and lawn equipment. This one isn’t LiftMaster’s fault, but it is the most common service call we run. The safety sensors sit at ankle height on either side of the door opening, and one bump sends the receiver out of parallel with the sender. The door reverses immediately or won’t close at all. Sometimes the lens is fine and it’s a three-minute adjustment; sometimes the wire got pinched in the track. We’ll name the actual cause, not guess at it.
Our LiftMaster Garage Door Installation Process
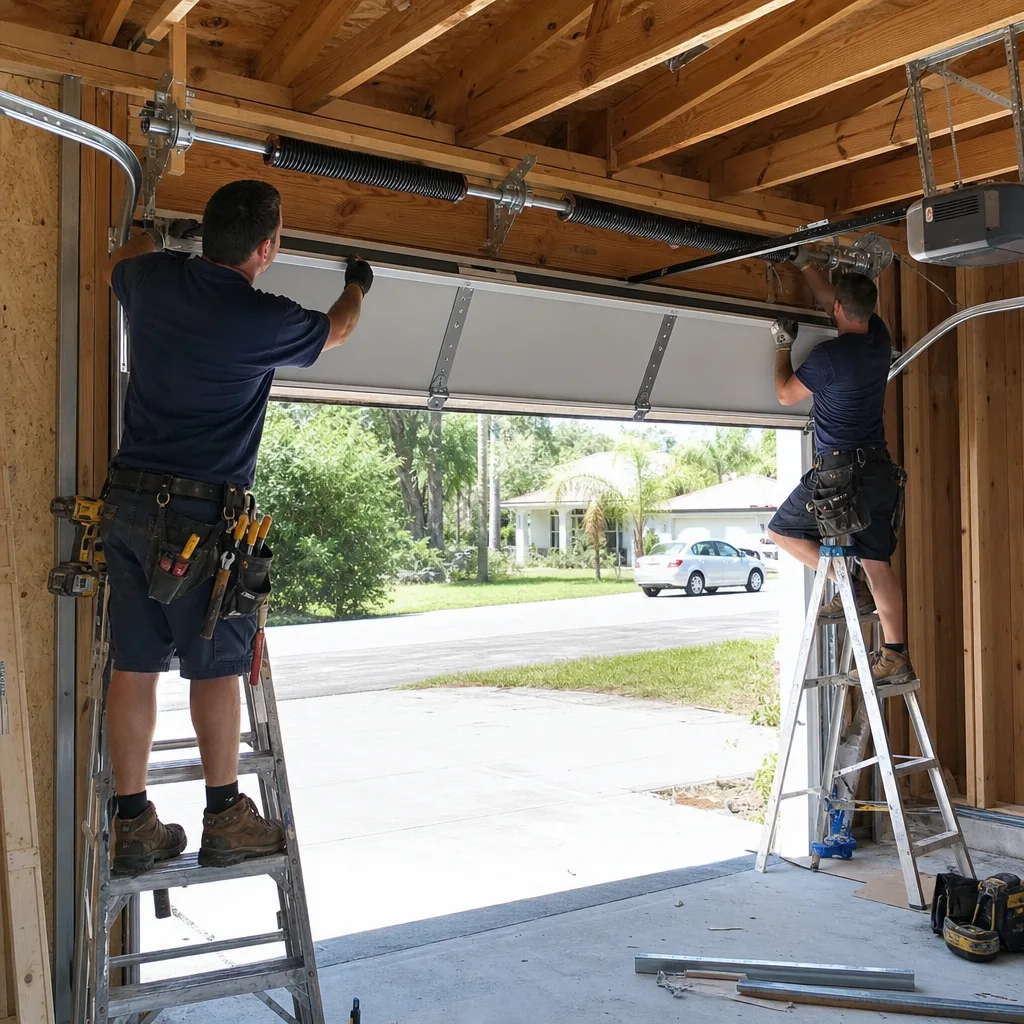
Every LiftMaster installation in Clearwater follows the same sequence. Nothing gets unbolted until Clause 1 of The Haven Standard is satisfied: you have a written scope and a written flat price in hand.
- 1
You call (727) 485-0719. A live person answers, including nights and weekend emergency calls. We get your address, your current opener model if you know it, and the issue or goal.
- 2
We inspect the existing setup. The tech checks the door balance, the torsion spring, the tracks, and the wiring. A LiftMaster opener installed on a poorly balanced door will burn out a gear in months, not years. We measure the door and note what’s there.
- 3
You get the flat written price. Before work begins, you’ll see the line items: the opener model, the labor, the materials, and any door adjustments that need to happen alongside. That’s the price. If the scope changes, the new price gets written and agreed before anything else moves.
- 4
We install and document. The opener goes in, the door gets balanced, limits and force settings get set properly. We photograph the old component if we’re replacing something failed, and photograph the finished work. You get that record at the end.
- 5
We test everything. Safety sensors get verified, the reversal mechanism gets tested with a block of wood under the door, and the remote and wall button get paired. We don’t leave until it runs through a full cycle cleanly.
- 6
You get the paperwork. The written scope, the photo record, and the warranty. The 365-Day Done Right Promise applies: if it’s not right, we make it right.
BeforeAfterWhat LiftMaster Garage Door Installation Costs in Clearwater
Here’s what we quote on LiftMaster work in Clearwater, in dollars, because that’s how you want to see it:
- Opener installation (labor only): $250-$550, depending on ceiling height, existing wiring condition, and whether it’s a standard rail or wall-mount unit.
- Opener repair: $120-$320, covering gear kits, logic boards, carriage replacements, and sensor rewiring on LiftMaster units.
- New door installation (if the door itself is going in alongside the opener): $700-$2,200, with steel and wood options priced by size and insulation level.
- Spring repair or replacement: $180-$340, because an opener only lasts when the spring is doing its job.
What moves the price: the opener model you pick, whether the existing wiring and mounting can be reused, and whether the door itself needs balance work. We’ll quote it flat before work begins. Call (727) 485-0719 for an exact number, and know the estimate is free and the price won’t change once we start.
Why Clearwater Homeowners Call Servo Garage Doors Clearwater for LiftMaster Work
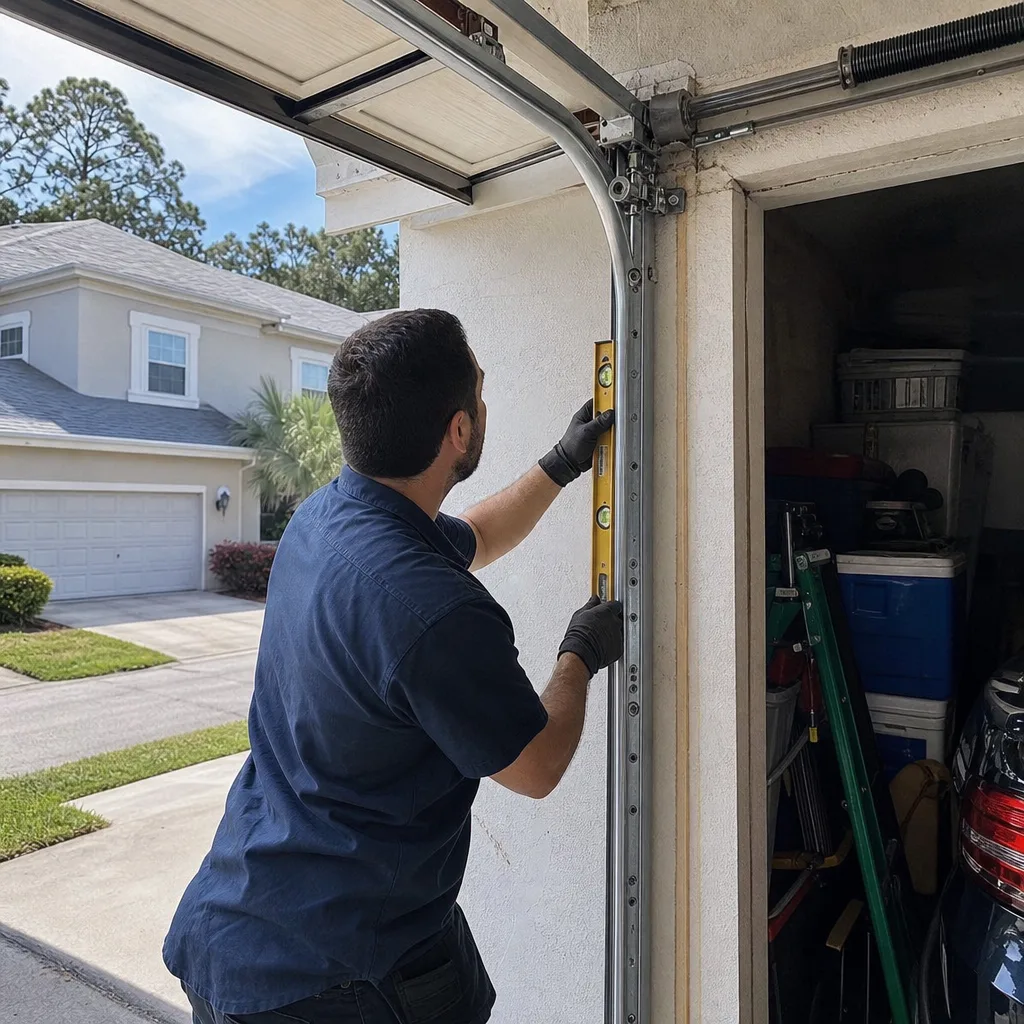
We’re an independent LiftMaster service provider, not a factory-authorized shop, and we think that’s an advantage. It means we recommend the part that’s actually right for your door, not the one a corporate program tells us to push. We work across all the major brands, including Chamberlain and Genie, so when a LiftMaster part doesn’t make sense in a given situation, we’ll tell you that too.
Marcus Deller has been working garage doors exclusively for over two decades, and the practice that built Servo is simple: photograph the failed component before quoting a replacement. That’s Clause 4 of The Haven Standard now, but it started in 2015 as the right way to do business. We’ve completed over 18,000 garage door jobs since then, each one with a written price before work started and a documented photo record when it ended. Our technicians are background-checked and uniformed, and the license number is on the page, not buried in fine print.
Name the part, quote the price, then pick up the wrench. That’s the whole system.
FAQs
Yes, we’ll install a LiftMaster opener you’ve already purchased, and the installation labor is the same $250 to $550 range. We’ll inspect the unit before we start and confirm it’s compatible with your door. The written price covers our labor and materials; the opener’s own warranty stays with you as the purchaser.
For a standard opener installation, we typically schedule within a few days. Emergency calls, like an opener that’s failed with the door stuck open, get answered by a live person 24/7 at (727) 485-0719 and dispatched with a named technician, not a callback window. You’ll get an on-the-way text with the tech’s name.
No. The flat written price you agree to before work starts is the price. That’s Clause 1 of The Haven Standard, and it applies to every job we run in Clearwater. If the scope has to change mid-job, we write the new price and get your sign-off before touching anything else. No surprises at the end.
For warranty-covered units, we use OEM LiftMaster parts so the manufacturer’s warranty stays intact. For out-of-warranty openers, we’ll quote both OEM and quality aftermarket options when they exist, with the trade-offs spelled out. You decide with the numbers in front of you. On things like safety sensors and wall buttons, aftermarket parts are usually identical in function and half the price.
The rule we use is simple. If the repair cost on a LiftMaster opener exceeds 50% of a new unit’s installed price, and the opener is over 8 years old, we’ll recommend replacement and show you the numbers for both. If the opener is under 5 years old and the failure is a single component, repair almost always makes more sense. We won’t push a replacement just because the labor margin is higher. Call (727) 485-0719 and we’ll walk through the math on your specific model.
Get Your LiftMaster Garage Door Installation Started in Clearwater
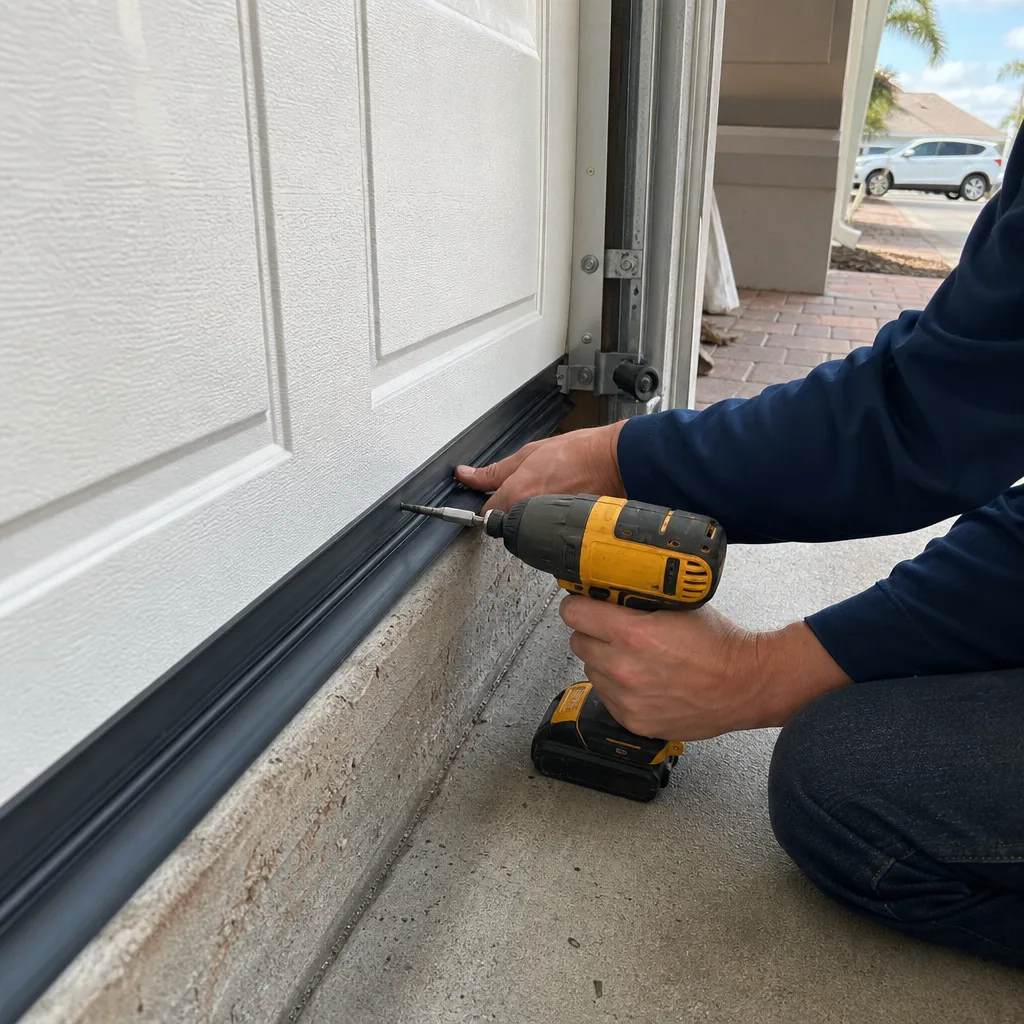
If you need a LiftMaster opener installed, replaced, or repaired in Clearwater, call (727) 485-0719. You’ll get a free estimate, a flat written price, and a photo record of the work when we leave. Serving Clearwater and nearby areas since 2015, with live phone coverage 24 hours a day, 7 days a week.
Written by Marcus Deller, Owner, Servo Garage Doors Clearwater at Servo Garage Doors Clearwater, serving Clearwater and nearby areas.