
Last updated September 20, 2026
Full 25-point door and opener safety check with every visit - springs, cables, rollers, tracks, and your LiftMaster or Chamberlain opener included
You get a price before we start. It does not change when the truck arrives.
 Before
 After
After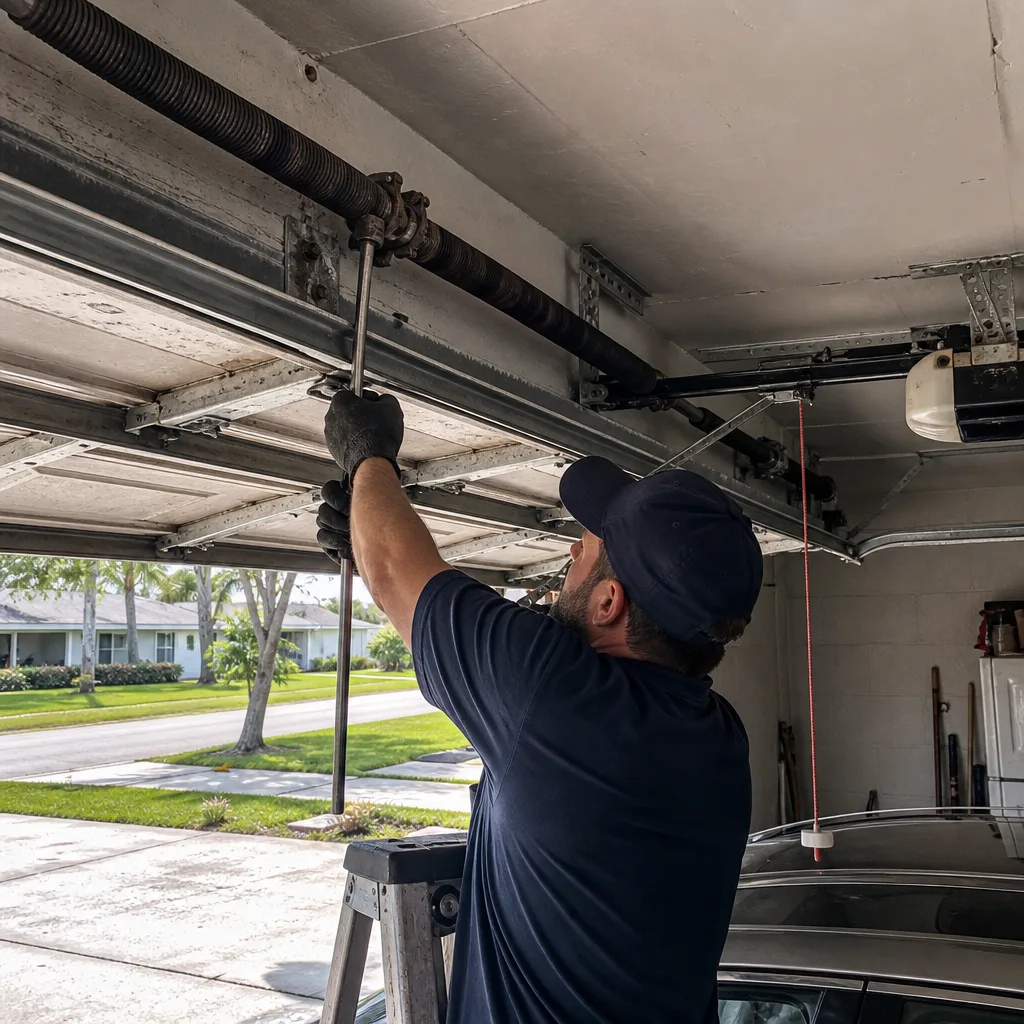 Before
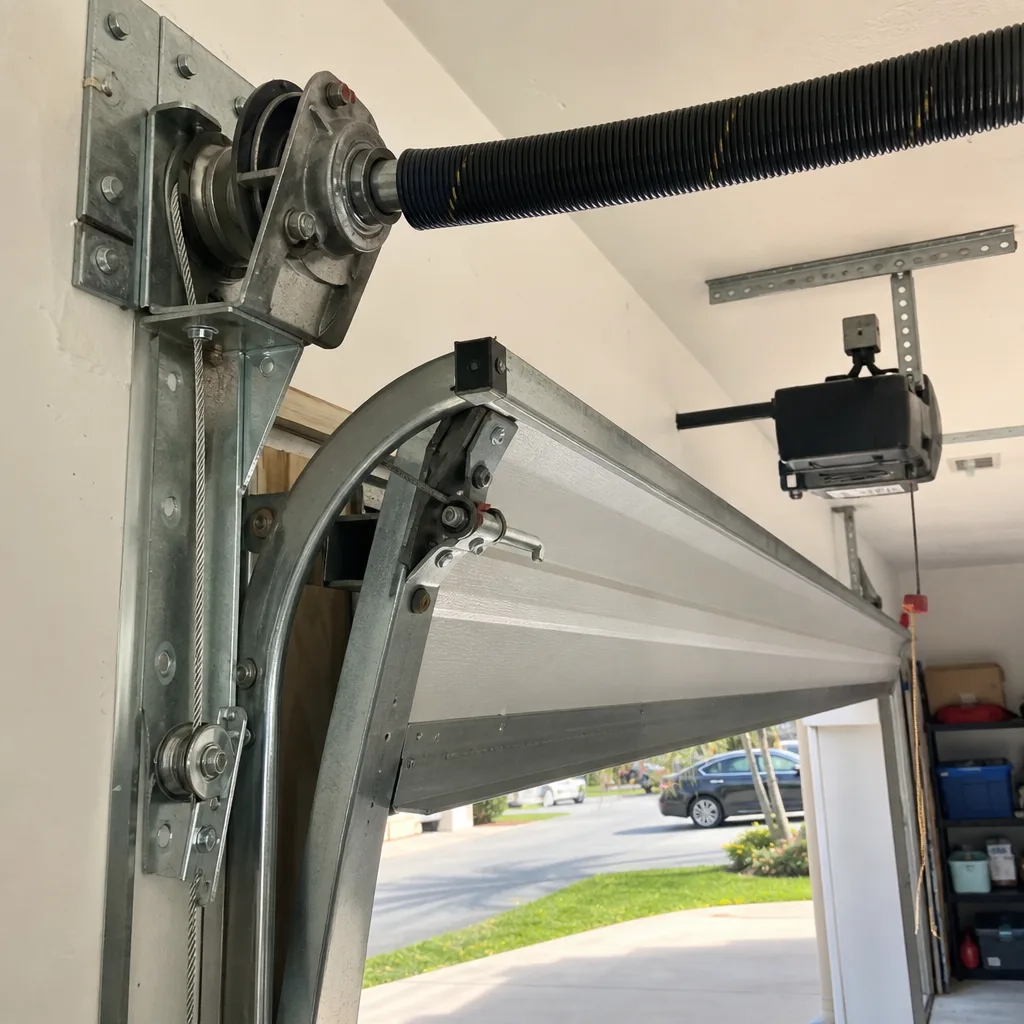 After
After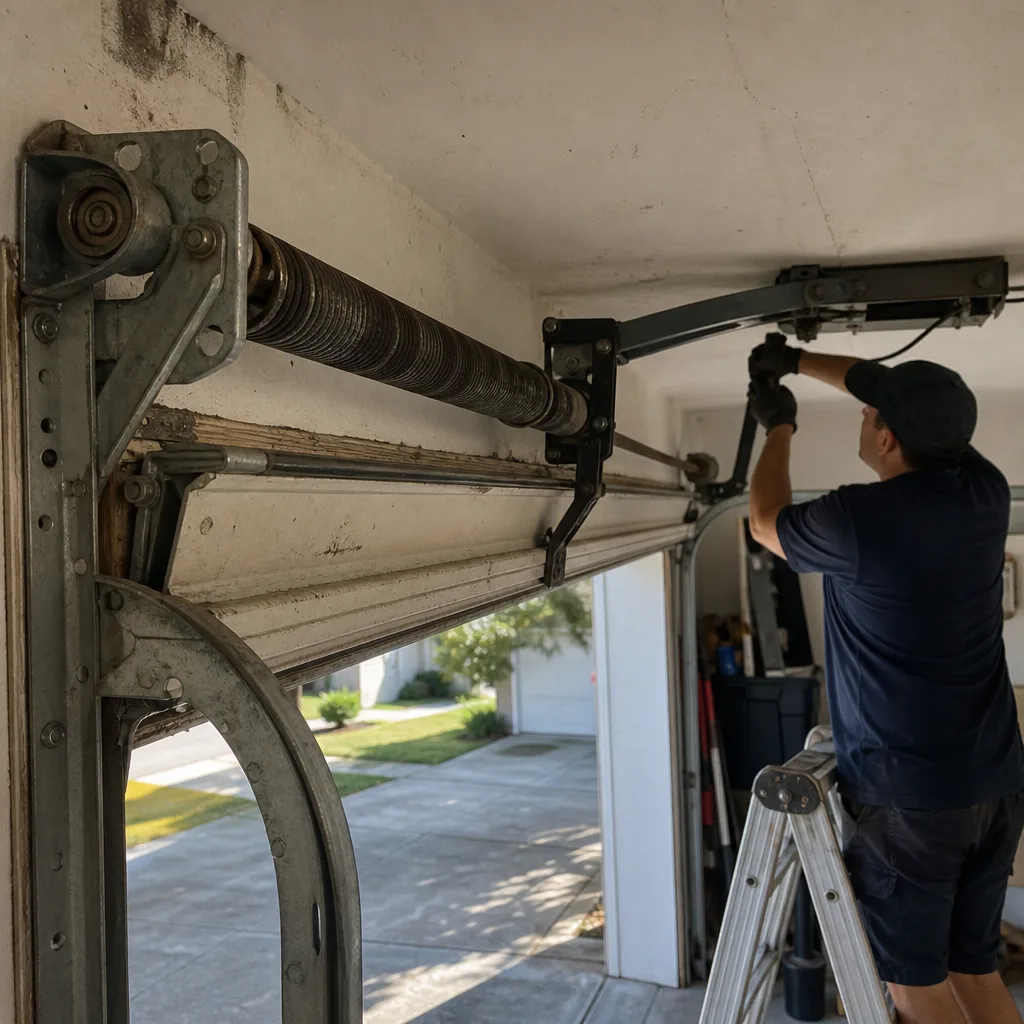 Before
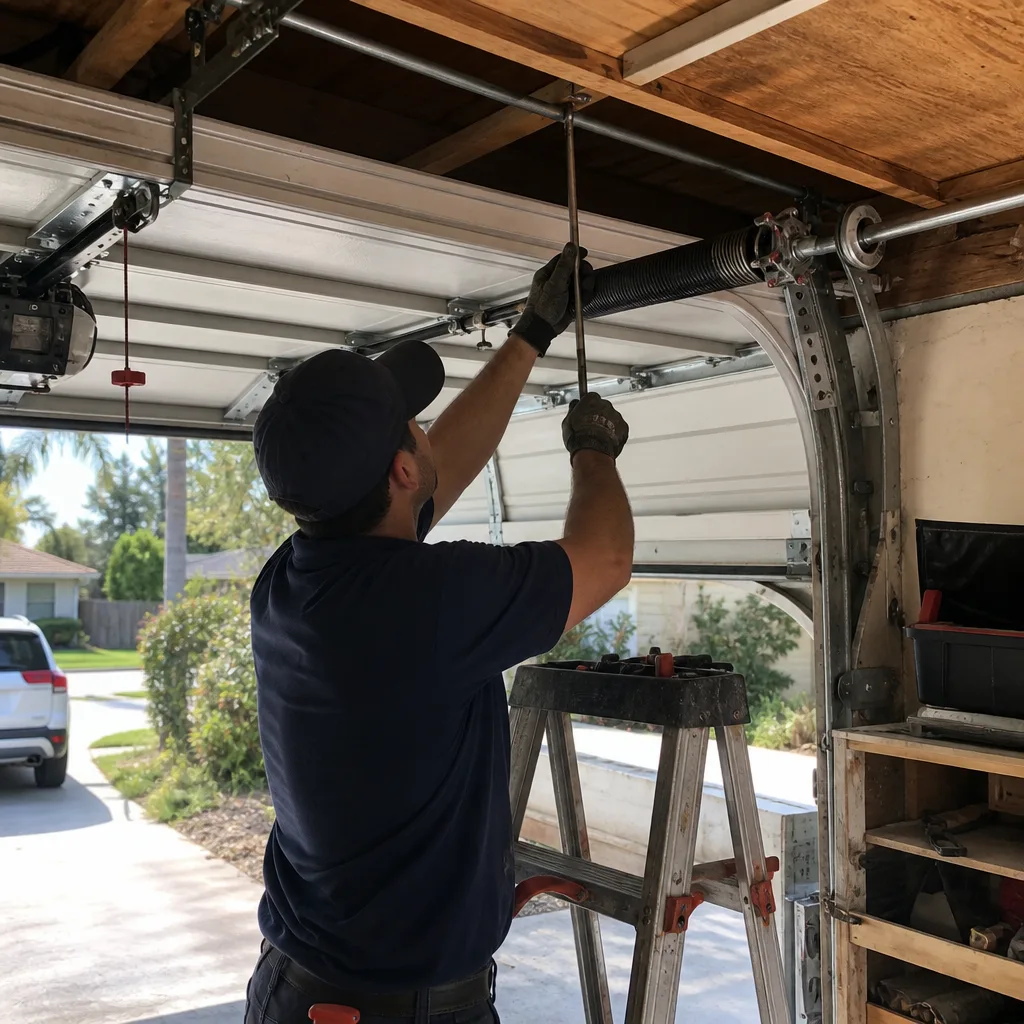 After
AfterGarage Door Warning Signs: A Clearwater Homeowner’s Reference Guide
Most Clearwater homeowners treat their garage door like a light switch: they expect it to work every time and think nothing of it until it doesn’t. That’s a costly habit. The door you open twice a day is the largest moving object in your home, and it talks to you constantly. The average garage door completes about 1,500 open-close cycles per year in a Florida coastal climate, and the salt air accelerates wear on every component, from the torsion spring above your head to the cable drums bolted to the wall. This guide is a diagnostic reference, not a fear list. It maps specific sounds and behaviors to specific components and failure modes, gives you the real Clearwater price ranges for repair, and shows you which warning signs are stop-now problems and which ones just need a tweak. By the end, you’ll know more about your garage door than 90% of the people who will try to sell you a new one.
Quick Answer
The garage door warning signs Clearwater homeowners should never ignore are a door that hesitates before moving when you press the button, grinding or scraping during travel that changes or stops when you operate the door manually, visible fraying or kinking on the lift cables, rust pitting on the bottom brackets, and a door that is getting harder to lift by hand. These symptoms point to specific components that cost between $40 and $340 to replace. Catching them early prevents the $850+ full-system failures that follow.
Table of Contents
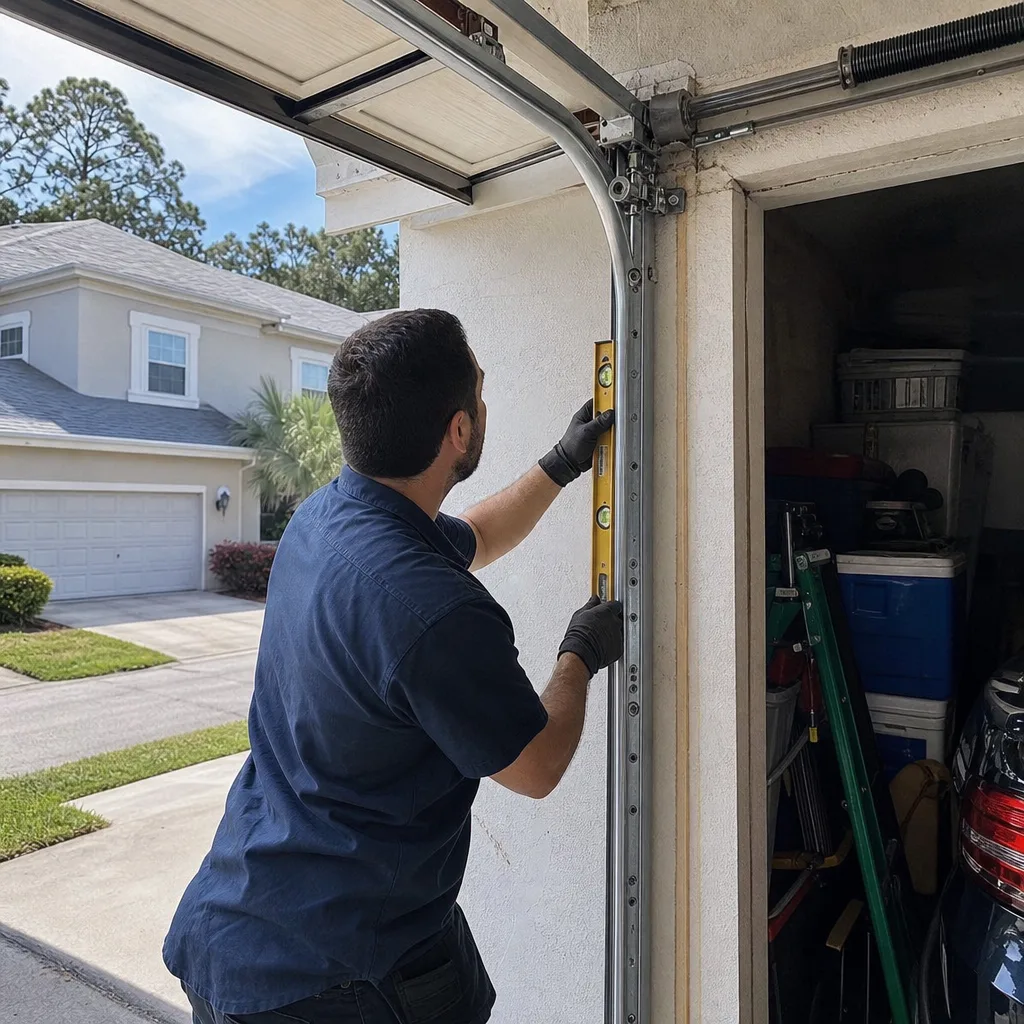
- Symptom Index: Sound, Behavior, Likely Cause, Cost
- The Hesitation That Costs $800: Opener Logic Board vs. Remote Battery
- Grinding During Travel: The Opener Drive Gear Tells You What’s Wrong
- Reading the Cables: Fraying, Kinking, and Rust Streaking Before a Snap
- Clearwater Corrosion: What a Dying Bottom Bracket Looks Like
- Weakening Spring vs. Broken Spring: The Test That Saves Your Opener
- Opener Reversing Mid-Travel: Safety Mechanism or Setting Problem?
- Common Mistakes to Avoid
- When to Call a Professional
- Frequently Asked Questions
BeforeAfterSymptom Index: Sound, Behavior, Likely Cause, Cost
We built the table below from what our technicians log on service calls across Clearwater, from Bayside to Morningside to Harbor Oaks. It is not a guess. It is the field data of 18,000+ garage doors made right since 2015, and it follows the diagnostic habit Servo uses on every job: name the failed component, quote the dollars before touching anything, and explain the repair in one plain sentence. Match your symptom to a row and you will know whether you are calling us today or just watching closely for a week.
| Symptom | Likely Failed Component | Typical Repair Cost Range | Owner-Serviceable? |
|---|---|---|---|
| Door hesitates 1-3 seconds after pressing button | Opener logic board or start capacitor | $40-$120 (component), $250-$400 (full board replacement) | No - involves line-voltage capacitor |
| Grinding during travel that stops when manually operated | Opener drive gear (nylon worm gear) | $60-$120 | Yes, with opener-specific gear kit |
| Scraping or metal-on-metal sound along track | Worn rollers or bent track | $15-$40 per roller, $75-$150 for track adjustment | Rollers: yes; track: no - under tension |
| Loud bang from above the door, then door will not move | Broken torsion spring | $180-$340 installed | No - high-tension spring, severe injury risk |
| Door is heavy to lift manually, but no visible break | Weakening torsion spring (loss of tension) | $180-$340 installed | No - spring winding is dangerous |
| Visible fraying or kinking on a lift cable | Lift cable nearing failure point | $90-$180 per cable | No - cables are under constant tension |
| Rust pitting on bottom bracket (corner fixture) | Corroded bottom bracket | $75-$150 per bracket | No - bracket bears cable tension |
| Opener reverses before or after hitting floor | Travel limit settings or force sensitivity | $60-$110 service call adjustment | Sometimes - but misadjustment voids warranty |
| Door jerks or shakes during travel | Loose hardware, worn rollers, or unbalanced spring | $60-$200 depending on root cause | Hardware: yes; spring: no |
| Door closes, then immediately reverses a few inches and reopens | Photo-eye obstruction or misalignment | $0 if debris removed, $60-$90 for realignment | Yes - wipe lenses, check alignment |
The Hesitation That Costs $800: Opener Logic Board vs. Remote Battery
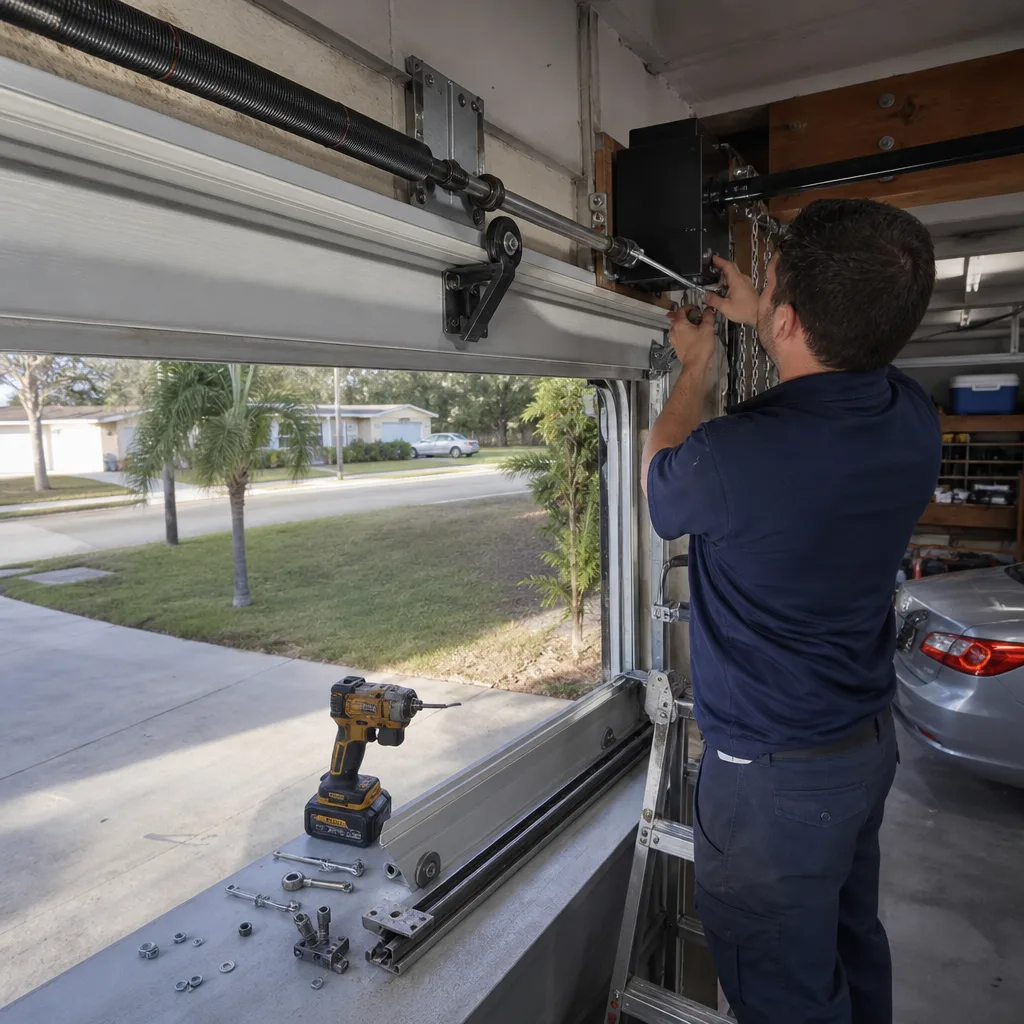
Here is the warning sign most homeowners ignore because the fix seems too obvious: you press the wall button or the remote and the door takes two or three seconds to begin moving, or does not respond to the first press but works on the second. The natural assumption is a dying remote battery. Our field data across Clearwater service calls says that assumption is wrong about 70% of the time.
The wall button and the remote send the same signal to the same place: the opener’s logic board, which is the circuit card inside the motor housing that receives every command and triggers the motor capacitor. When the logic board begins to fail, it does not die all at once. It hesitates. The capacitor, which stores the surge of electricity needed to start the motor, degrades the same way. The symptom is identical: a delay between command and movement.
The diagnostic test is simple. Press the wall button. Then press the remote. If the same hesitation occurs from both devices, the problem is not the remote and not the battery. It is almost always the logic board or the start capacitor in the opener unit. A capacitor replacement is a $40 component. A logic board replacement, depending on brand and age, runs $250 to $400. A full opener replacement, which is what happens when a failing board finally shorts and takes the motor with it, starts around $850 and climbs from there, so see our How to Hire a Garage Door Contractor in Clearwater: A Step-by-Step Guide before you commit.
We see this on Chamberlain and LiftMaster units more than any other brand in Clearwater, mostly because they are the two most-installed openers in Pinellas County. The age pattern is consistent: units between seven and twelve years old are the ones showing board-degradation hesitation. If your opener is in that range and the pause is getting longer, the board is telling you it is dying. Do not wait for it to confirm.
Grinding During Travel: The Opener Drive Gear Tells You What’s Wrong
A grinding sound from the opener while the door is moving sends most homeowners to the wrong conclusion: the garage door itself is broken. Before calling anyone, run one simple test. Pull the red emergency release cord, which disconnects the door from the opener carriage, and then operate the door manually. If the grinding disappears when you move the door by hand, the problem is not the door. It is the opener’s drive gear.
The drive gear is the nylon worm gear inside the motor head that converts the motor’s rotation into linear movement of the trolley carriage, the metal piece that pulls the door along the rail. Manufacturers make this gear from nylon on purpose: it is designed to be a sacrificial component, stripping its teeth before the steel motor shaft takes damage. When the gear’s teeth begin wearing down, you hear a grinding or rattling from the motor head. Left alone, the gear eventually strips completely, the trolley loses grip on the rail, and the opener motor runs without moving the door. That is when the broken gear takes the carriage with it.
A worn drive gear is a $60 to $120 component replacement on most LiftMaster, Chamberlain, Genie, and Craftsman openers. We stock the gear kits for all four brands on service trucks in Clearwater because it is one of the most common repairs we make. The 30-minute job is the difference between a functioning opener and a $400+ repair once the stripped gear destroys surrounding parts. If you hear grinding from the motor head, do not run the opener for another week. Every cycle is a few more teeth gone.
Reading the Cables: Fraying, Kinking, and Rust Streaking Before a Snap
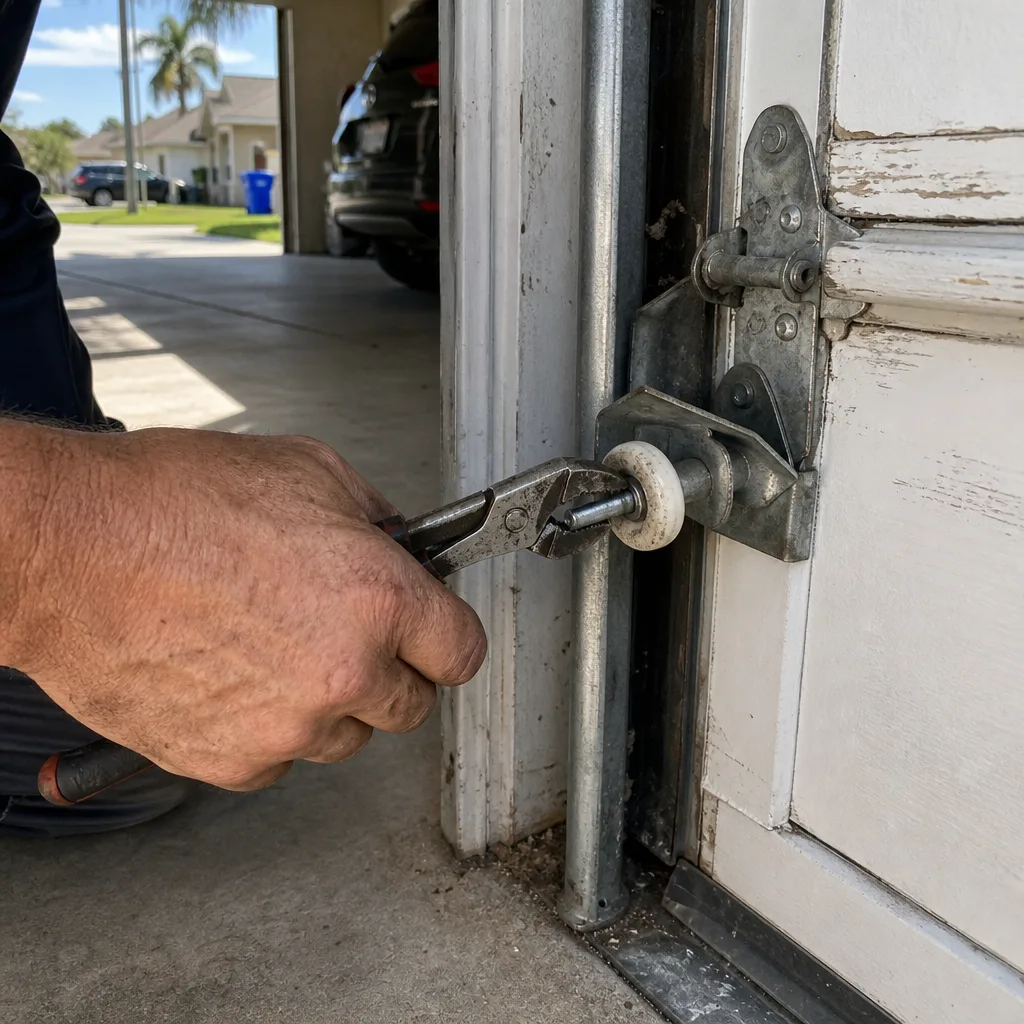
The lift cables on a garage door do not fail without warning. They telegraph their condition visually for weeks or months before the snap, and in Clearwater’s salt-humidity climate, the visual language is even easier to read. The cable runs from the bottom bracket on each side of the door, up around the cable drum at the top of the shaft, and it holds tension from the torsion spring system. When a cable snaps, the entire spring tension releases at once, the door slams or cocks violently in the track, and the repair is an emergency, not an appointment.
There are three specific cable warning signs we instruct Clearwater homeowners to look for, and each one is viewable from inside the garage with the door closed. First: fraying. A healthy lift cable is a tight, uniform spiral of steel strands. Fraying looks like individual strands beginning to separate anywhere along the cable’s length, usually where it exits the drum or wraps around the bottom bracket’s hook. Second: kinking. A kink forms when the cable has jumped the drum groove or was wound unevenly, and it looks like a permanent sharp bend rather than a smooth curve. A kinked cable holds less than half of its rated breaking strength at that point. Third: rust streaking. If you see reddish-brown staining running along or beneath the cable, the steel core is oxidizing. In Clearwater, where the humidity averages over 70% year-round and the salt air moves in off the Gulf, surface rust on a cable is normal. What is not normal is depth: a cable that flakes when you run a finger along it, or one that shows visible thinning at the drum, is structurally compromised.
Cable replacement runs $90 to $180 per cable in Clearwater, and the job requires releasing spring tension, which means it is not owner-serviceable. The cables are under hundreds of pounds of tension at all times, and a cable that snaps during a DIY attempt becomes a steel whip. If you see fraying, kinking, or deep rust streaking, stop using the door and call a professional. The alternative is a snapped cable at 7:00 on a Tuesday morning with the door jammed half-open and your car trapped inside.
Clearwater Corrosion: What a Dying Bottom Bracket Looks Like
The bottom bracket is the steel corner fixture bolted to the bottom of each side of the door panel, where the lift cable attaches. It carries the full weight of the door every time the door moves. In Clearwater, the bottom bracket is the most corrosion-prone component on the entire system, and most homeowners have never looked at it.
Here is the progression, in order, of what rust on a bottom bracket looks like before it fails. Stage one is surface oxidation: an even, light-orange discoloration across the steel. That is cosmetic and does not require replacement yet. Stage two is pitting: small, visible pits or depressions in the metal surface where the rust has eaten past the surface layer. A pitted bracket is compromised and should be replaced within weeks, not months. Stage three is structural compromise: the bracket is flaking, shows visible thinning, the cable attachment point is misshapen, or the bolt holes are widening. At this stage, the bracket can fail under load without additional warning, and when a bottom bracket fails while the door is moving, the cable releases instantly and the door drops or slams into the track.
Why does this matter more in Clearwater than in inland Florida? Because the bottom bracket sits inches from the concrete floor of the garage, where pooled hurricane-season rain, salt tracked in on car tires, and the constant humidity create a micro-corrosion zone. We see more stage-two and stage-three bottom brackets in garages within two miles of the coast, from Island Estates to Belleair Bluffs, than anywhere else in our service area. The fix is a $75 to $150 per bracket replacement, and because the bracket carries cable tension, it is not a DIY repair. It is the kind of repair where Clause 4 of The Haven Standard matters: on a Servo visit, the technician photographs the corroded bracket before quoting a replacement. You see exactly what we are telling you failed.
Weakening Spring vs. Broken Spring: The Test That Saves Your Opener
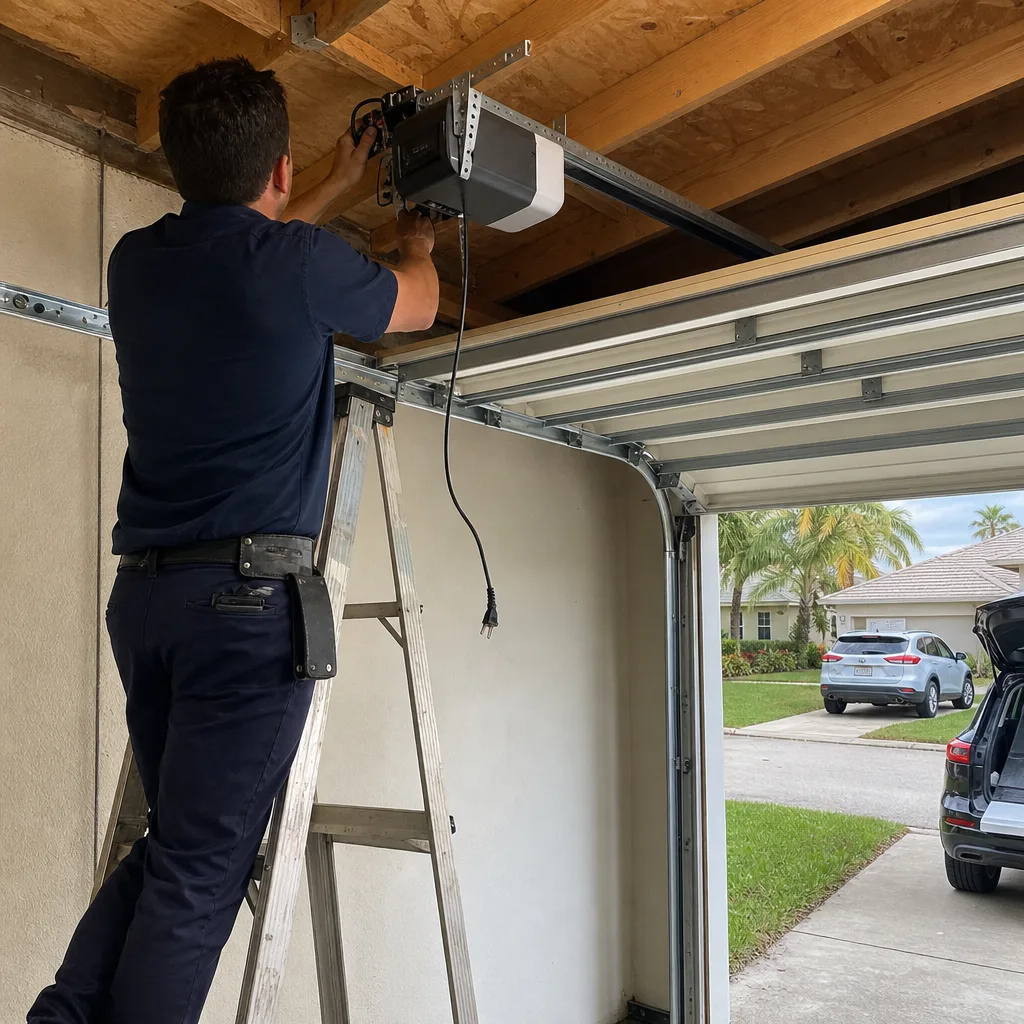
The torsion spring above your garage door is the component that does the actual lifting. The opener is just a motor that moves an already-balanced door. When the spring breaks, the door becomes dead weight, and the opener begins destroying itself trying to lift what its drive gear was never designed to move.
A broken spring is usually obvious: you will hear a loud bang from above the door that sounds like a gunshot or a car backfiring, and afterward the opener will not move the door at all, or it will lift the door only a few inches before stalling. The spring will show a visible break, often a split at one of the coils. If you see a separated gap in the spring or a spring wound on the shaft with a clear fracture line, do not operate the door and do not stand under the spring.
A weakening spring is quieter and more dangerous to your opener. Torsion springs are rated for a specific number of cycles, usually 10,000 cycles for a standard residential spring, which translates to roughly seven to ten years of normal use in a Clearwater household. As the spring approaches the end of its rated life, it loses tension gradually. The door gets heavier to lift manually. The opener begins struggling: slower travel, louder motor strain, the door creeping down if you release it halfway. This is the warning sign that precedes the break, and it is the phase where operating the door is damaging the opener’s drive system.
The test: pull the emergency release and lift the door by hand. A properly balanced door should lift smoothly with moderate effort and hold position when you open it halfway. If the door feels heavy, or if it drops when you release it at the halfway point, the spring has weakened and is failing. In our experience across Clearwater service calls, a door that is heavy to lift for more than a few weeks damages a nylon drive gear within hours of the spring fully breaking. A $180 to $340 spring replacement when the spring is weakening prevents a $60 to $120 drive gear and the spring replacement together, plus the emergency call. The spring is under 300 to 400 pounds of torque when wound, which is why spring work always goes to a licensed technician. The gear is not. The warning sign is free; the timing is the cost.
Opener Reversing Mid-Travel: Safety Mechanism or Setting Problem?
Since 1993, every residential garage door opener sold in the United States has been required to include an auto-reverse safety system: an infrared photo-eye sensor across the door opening and a force-sensing mechanism inside the motor that reverses the door if it encounters resistance. When your opener reverses mid-travel, the first thing to know is that the safety system is doing what it was designed to do. The second thing to know is why.
The most common cause in Clearwater is the photo-eye sensor. One lens has a smudge, a spider web, a leaf, or a dust coating from garage foot traffic, and the beam between the two eyes is interrupted. The fix is a wipe with a dry cloth and a visual check of the small alignment lights on each eye. If both lights are steady and the door still reverses, the sensors have drifted out of alignment, which is a $60 to $90 adjustment call. If you can see both lights are lit and the door reverses only at the bottom of its travel, the issue is usually the down-force setting or the travel limit: the opener thinks it has hit the floor before it actually has, and reverses as an obstruction response.
Here is the distinction that matters. An opener that reverses with an actual obstruction, like a bike tire or a trash can in the door path, is functioning correctly. An opener that reverses because the force sensitivity has been set too high or too low is a configuration problem, and adjusting it incorrectly can disable the safety mechanism entirely. A 2×4 placed under the door should cause a reversal within two seconds of contact. If it does not, the force setting is wrong, and that is not a nuisance. It is a child-safety failure. Servo treats a misconfigured force setting as a safety repair, not a tune-up. The adjustment is simple for a technician, runs $60 to $110 as part of a service call in Clearwater, and is documented with the final settings on the invoice so you know what was changed and why.
Common Mistakes to Avoid
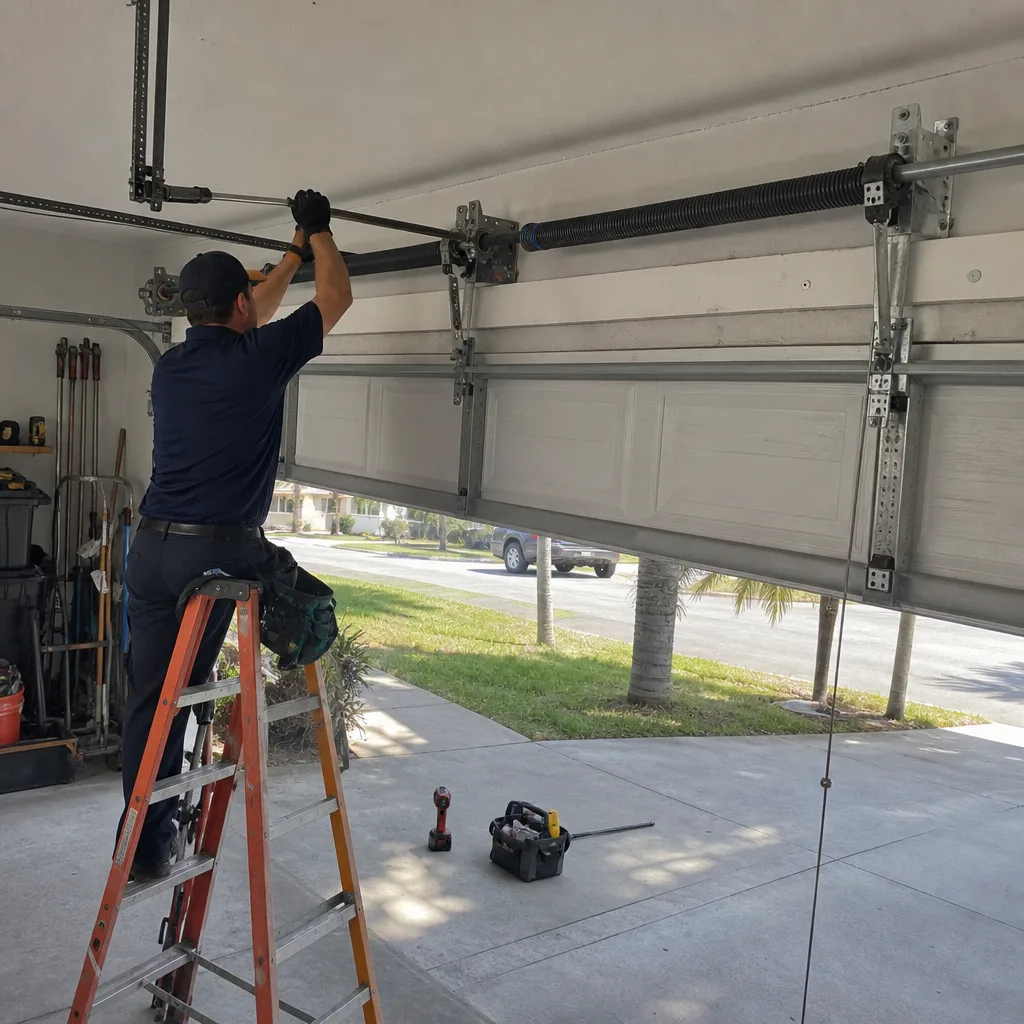
- Replacing the remote battery for a hesitation that is actually the logic board. If the pause happens from both the wall button and the remote, the board or capacitor is the problem, not the battery. You will spend weeks swapping batteries while the board continues degrading.
- Continuing to use the door after a spring breaks because the opener still moves it an inch or two. Every cycle a motor runs against a broken spring strips more teeth from the drive gear. Stop using the door immediately and call a technician.
- Spraying lubricant into the motor head to stop a grinding sound. Lubricant does not fix a stripped drive gear, and if it reaches the logic board it can short the unit. The grinding stops only when the gear is replaced.
- Ignoring rust on a bottom bracket because it has been rusty for a year. Rust that has moved from surface oxidation to pitting is a structural problem, not a cosmetic one. In Clearwater’s coastal humidity, that transition happens faster than you think.
- Manually lifting a door with a broken cable to get the car out before calling for repair. The door is off-balance, the remaining cable is under double load, and a sudden release can send the door crashing down the track. Get a professional out; do not muscle the door.
- Adjusting the opener’s force sensitivity dials to stop a reversing door without testing the safety reversal. Turning up the force to get the door to close past an obstruction defeats the safety system. Test with a 2×4 after any adjustment.
- Hiring a contractor who quotes over the phone without seeing the door. A verbal estimate is not a written price. In Clearwater, any repair from any company should come with a flat, written scope before work begins, which is Clause 1 of The Haven Standard and the only evidence-based way to price a repair.
When to Call a Professional
Call a professional the moment you identify a broken spring, a frayed or kinked cable, pitting on a bottom bracket, or a grinding drive gear that does not stop when the door is manually operated. These are not adjustment issues. They are component failures under tension or under load, and the consequences of a failed attempt at self-repair are a serious injury or a much larger repair bill. The clearest line for Clearwater homeowners to remember is this: if the failed part is under spring tension or carries the door’s weight, it is a technician’s job. If it is a photo-eye alignment, a roller, or a remote reprogramming, it is a homeowner’s job. Garage Door Repair in Clearwater from Servo includes a written flat price before any work starts, a documented photo record of what was found and what was done, and the 365-Day Done Right Promise on every repair. If you are in Clearwater and you have spotted a warning sign you cannot diagnose with confidence, call (727) 485-0719 for a free estimate. You will get a named technician and an on-the-way text, not a callback window.
Frequently Asked Questions
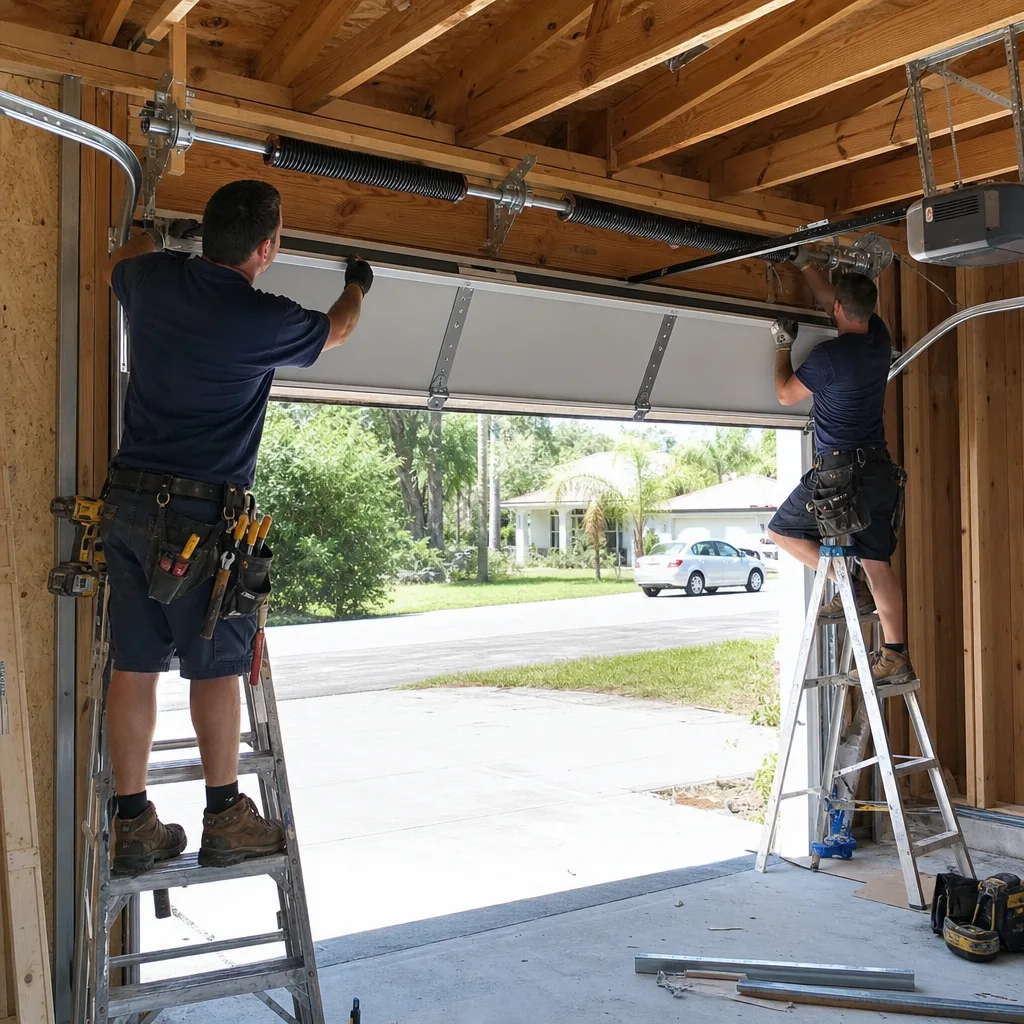
A torsion spring replacement in Clearwater typically costs $180 to $340 installed, depending on spring wire size and cycle rating. The price includes the spring, labor, and often a rebalancing of the door. We quote a flat, written price before any work starts, per Clause 1 of The Haven Standard, so the number you approve is the number on the invoice. Call (727) 485-0719 for an exact quote, and the estimate is free.
A garage door will not free-fall when a torsion spring breaks if the cables are intact, but it can drop several inches and then become immovable, and if a cable fails along with the spring, the door can slam shut or fall diagonally out of the track. The spring and cable system work together, so one failure compromises the other within hours. Do not operate a door with a broken spring.
A grinding opener that still moves the door usually means the nylon drive gear inside the motor head is partially stripped and losing teeth as it turns. The gear is designed to fail before the motor does, and replacement runs $60 to $120. If you run the opener until the gear fully strips, the repair cost climbs because the trolley carriage often gets damaged too.
Yes. If your garage lights flicker or dim when the opener begins moving, the motor’s start capacitor is pulling more current than usual, which is an early-stage sign of capacitor failure. The same failing capacitor can cause the door to hesitate on startup. The capacitor replacement is a $40 to $80 repair if caught before it takes the logic board with it.
An opener that reverses mid-travel is usually responding to a photo-eye interruption or a force-setting misconfiguration, not a random malfunction. Check the photo-eye lenses for debris and verify both alignment lights are steady. If the problem continues, the force sensitivity or travel limit needs adjustment, which is a $60 to $110 service call. A safety reversal that does not work when tested with a 2×4 block is a serious safety hazard and should be corrected professionally.
In Clearwater’s salt-air, high-humidity environment, an annual visual inspection of the springs, cables, rollers, and bottom brackets is the minimum, and a professional service call every two years will catch corrosion stage transitions before they become failures, as detailed in our Seasonal Garage Door Care for Clearwater: Year-Round Homeowner’s Guide. The torsion spring should be cycle-tested at each service, and any spring past 70% of its rated cycle life should be scheduled for replacement before it breaks. Servo includes the documented photo record with every visit, so you have a visual baseline of your door’s components year over year.
The Bottom Line
Garage door warning signs are only worth something if they lead you to a component, not a feeling. A door that hesitates points to a logic board or capacitor, and a $40 capacitor beats an $850 opener. A grinding opener points to a drive gear, and a $60 gear beats a stripped carriage. Frayed cables, pitted bottom brackets, and weakening springs are visible failures that transform into emergencies only when they are ignored. Clearwater’s salt air accelerates every one of these failure timelines, so the annual look-over is not optional here the way it might be in Orlando or Tampa. The door tells you what is wrong. Listen to it, identify the part, and call (727) 485-0719 for a free estimate from Servo Garage Doors Clearwater. The written price comes before the work starts, and the photo record comes with the job. That is how Servo Garage Doors Clearwater home service works, and how Garage Door Opener Repair & Installation in Clearwater stays honest. For a full replacement, see Garage Door Installation in Clearwater.
Written by Marcus Deller, Owner at Servo Garage Doors Clearwater, serving Clearwater since 2015. For more guides & resources, visit our blog.